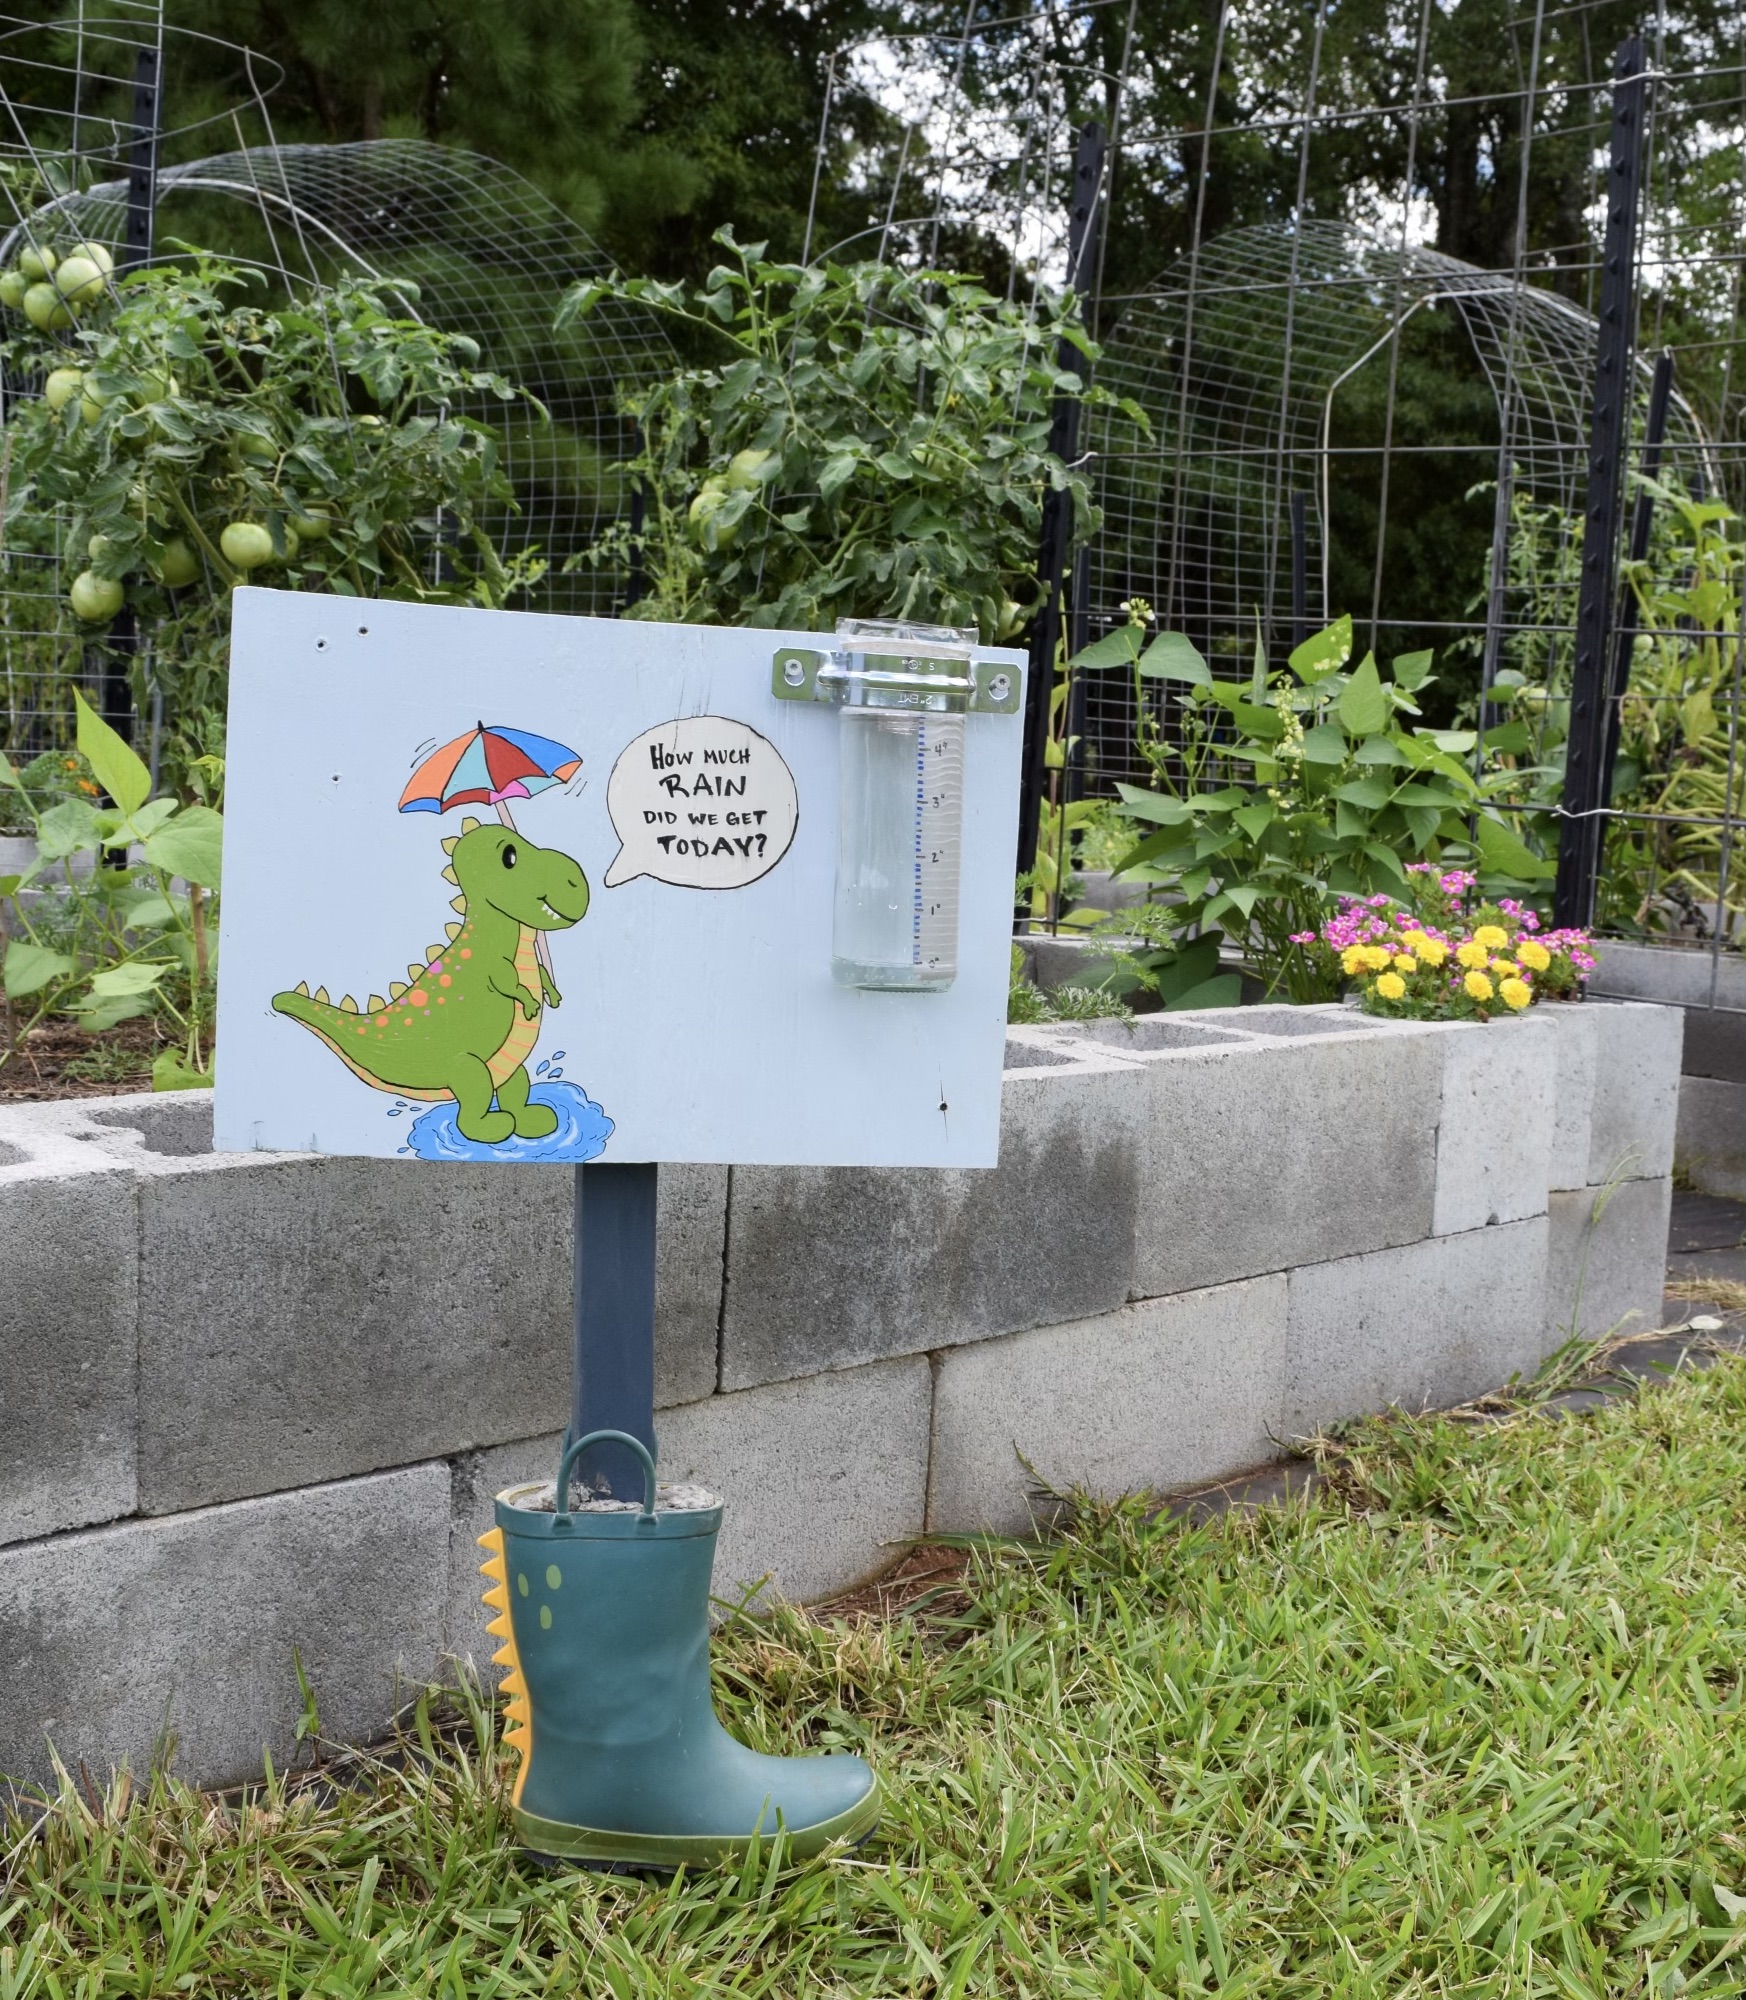
Garden Science: Rain Gauge Experiment
August 2024 | Molly S.
Step outside the classroom to discover the power of rain gauges! This easy environmental science experiment applies measuring skills to create a rain gauge using materials commonly found at home.
Key Concepts: Rain, rainfall, weather, meteorology, observation, graphing, measuring/accuracy.
Time Estimate:
15 minutes (execution & explanation). Experiment length varies according to instructor preference.
Activity Outline:
Use measuring skills to create a rain gauge in your garden! This rain meter experiment can be long-term or short-term (1 rain event or an entire semester).
Materials List:
-
- Clear vessel (washed, dried, with labels removed)
- Empty 2L soda pop bottle
- Empty glass jarEmpty water bottle
- If using a jar, you will also need a funnel
- Scissors
- Utility Knife
- Duct Tape
- Permanent marker
- Ruler
- Optional: hose clamp to attach to a sign
- Clear vessel (washed, dried, with labels removed)
Tip: Rubbing alcohol makes quick work of removing sticky labels and permeant marker!
Science Background
The ONE thing plants cannot grow without is water. Therefore, when gardening or planting crops, it is important to understand sources of water in your area! Of course, rainwater is likely one of the best sources of water available to you, so it is important to have a way to measure rainfall, the amount of rain in a given area over a given time period.
History of Rain Gauges
Rain gauges have been around for centuries in various parts of the world. Not all of them look like the one you will be creating today! Some have a prism shape, some use buckets (like the tipping bucket method), and one design even attempted to calculate rainfall per hour using a clock mechanism! You can find explanations and illustrations of these various rain gauges from this publication.
The design of common rain gauges used today started appearing around mid-17th century by scientists Robert Hooke (Gresham College) and Richard Townley (Townley Hall in Lancashire). It was not until the 18th century that rules were written to standardize rain gauge instruments. Scientists such as Leupold, Pickering, Dobson, and Dalton realized using a smaller diameter cylinder, typically with a funnel on top to collect water, yielded more accurate results than larger containers.
Why are rain gauges important?
Measuring rainfall tells farmers and gardeners how much water they must add to their plants to help them thrive. If a storm produces a lot of rain, you may not need to water for a few days. Alternatively, if the storm produces a small amount of rain, you may need to supplement with hose or stored water.
Tracking rainfall over a long period of time can also tell us a lot about the weather patterns of our world. Meteorologists, or weather scientists, can calculate the amount of water stored in a raincloud by tracking rainfall over time. This can be useful when they predict how long a storm will last, and if there is risk of a flood—an overflow of water, especially over an area that is typically dry. Additionally, rain gauges are important to determine droughts. A drought is a time of dryer-than-normal conditions. Tracking rainfall with a rain gauge helps scientists establish that “normal” rainfall line and will alert if a place does not receive as much rainfall as it has during that time in the past.
Despite using more advanced technology like satellites and radars to predict weather events, meteorologist still rely on rain gauges because they supply exact measurements and ground confirmation of weather events. In fact, if you have ever had your phone’s weather app tell you it is raining when you are standing outside dry, you know how important ground confirmation can be.
It is important to realize that rainfall does not only affect plants. Rainfall amount also affects city water, recreational activities, driving conditions, and much more. So even if you do not garden or farm, it is still important to monitor rainfall!
Instructor Preparation:
Gather materials, clean containers, cut bottles (depending on the age group).
Engage:
- Do you think rain is important? How does rain relate to farming or gardening? Does rain impact our lives even if we do not grow things?
- How do you think we can measure rainfall? Why would we want to measure rainfall?
- What is the best type of graph to display this data?
Explore:
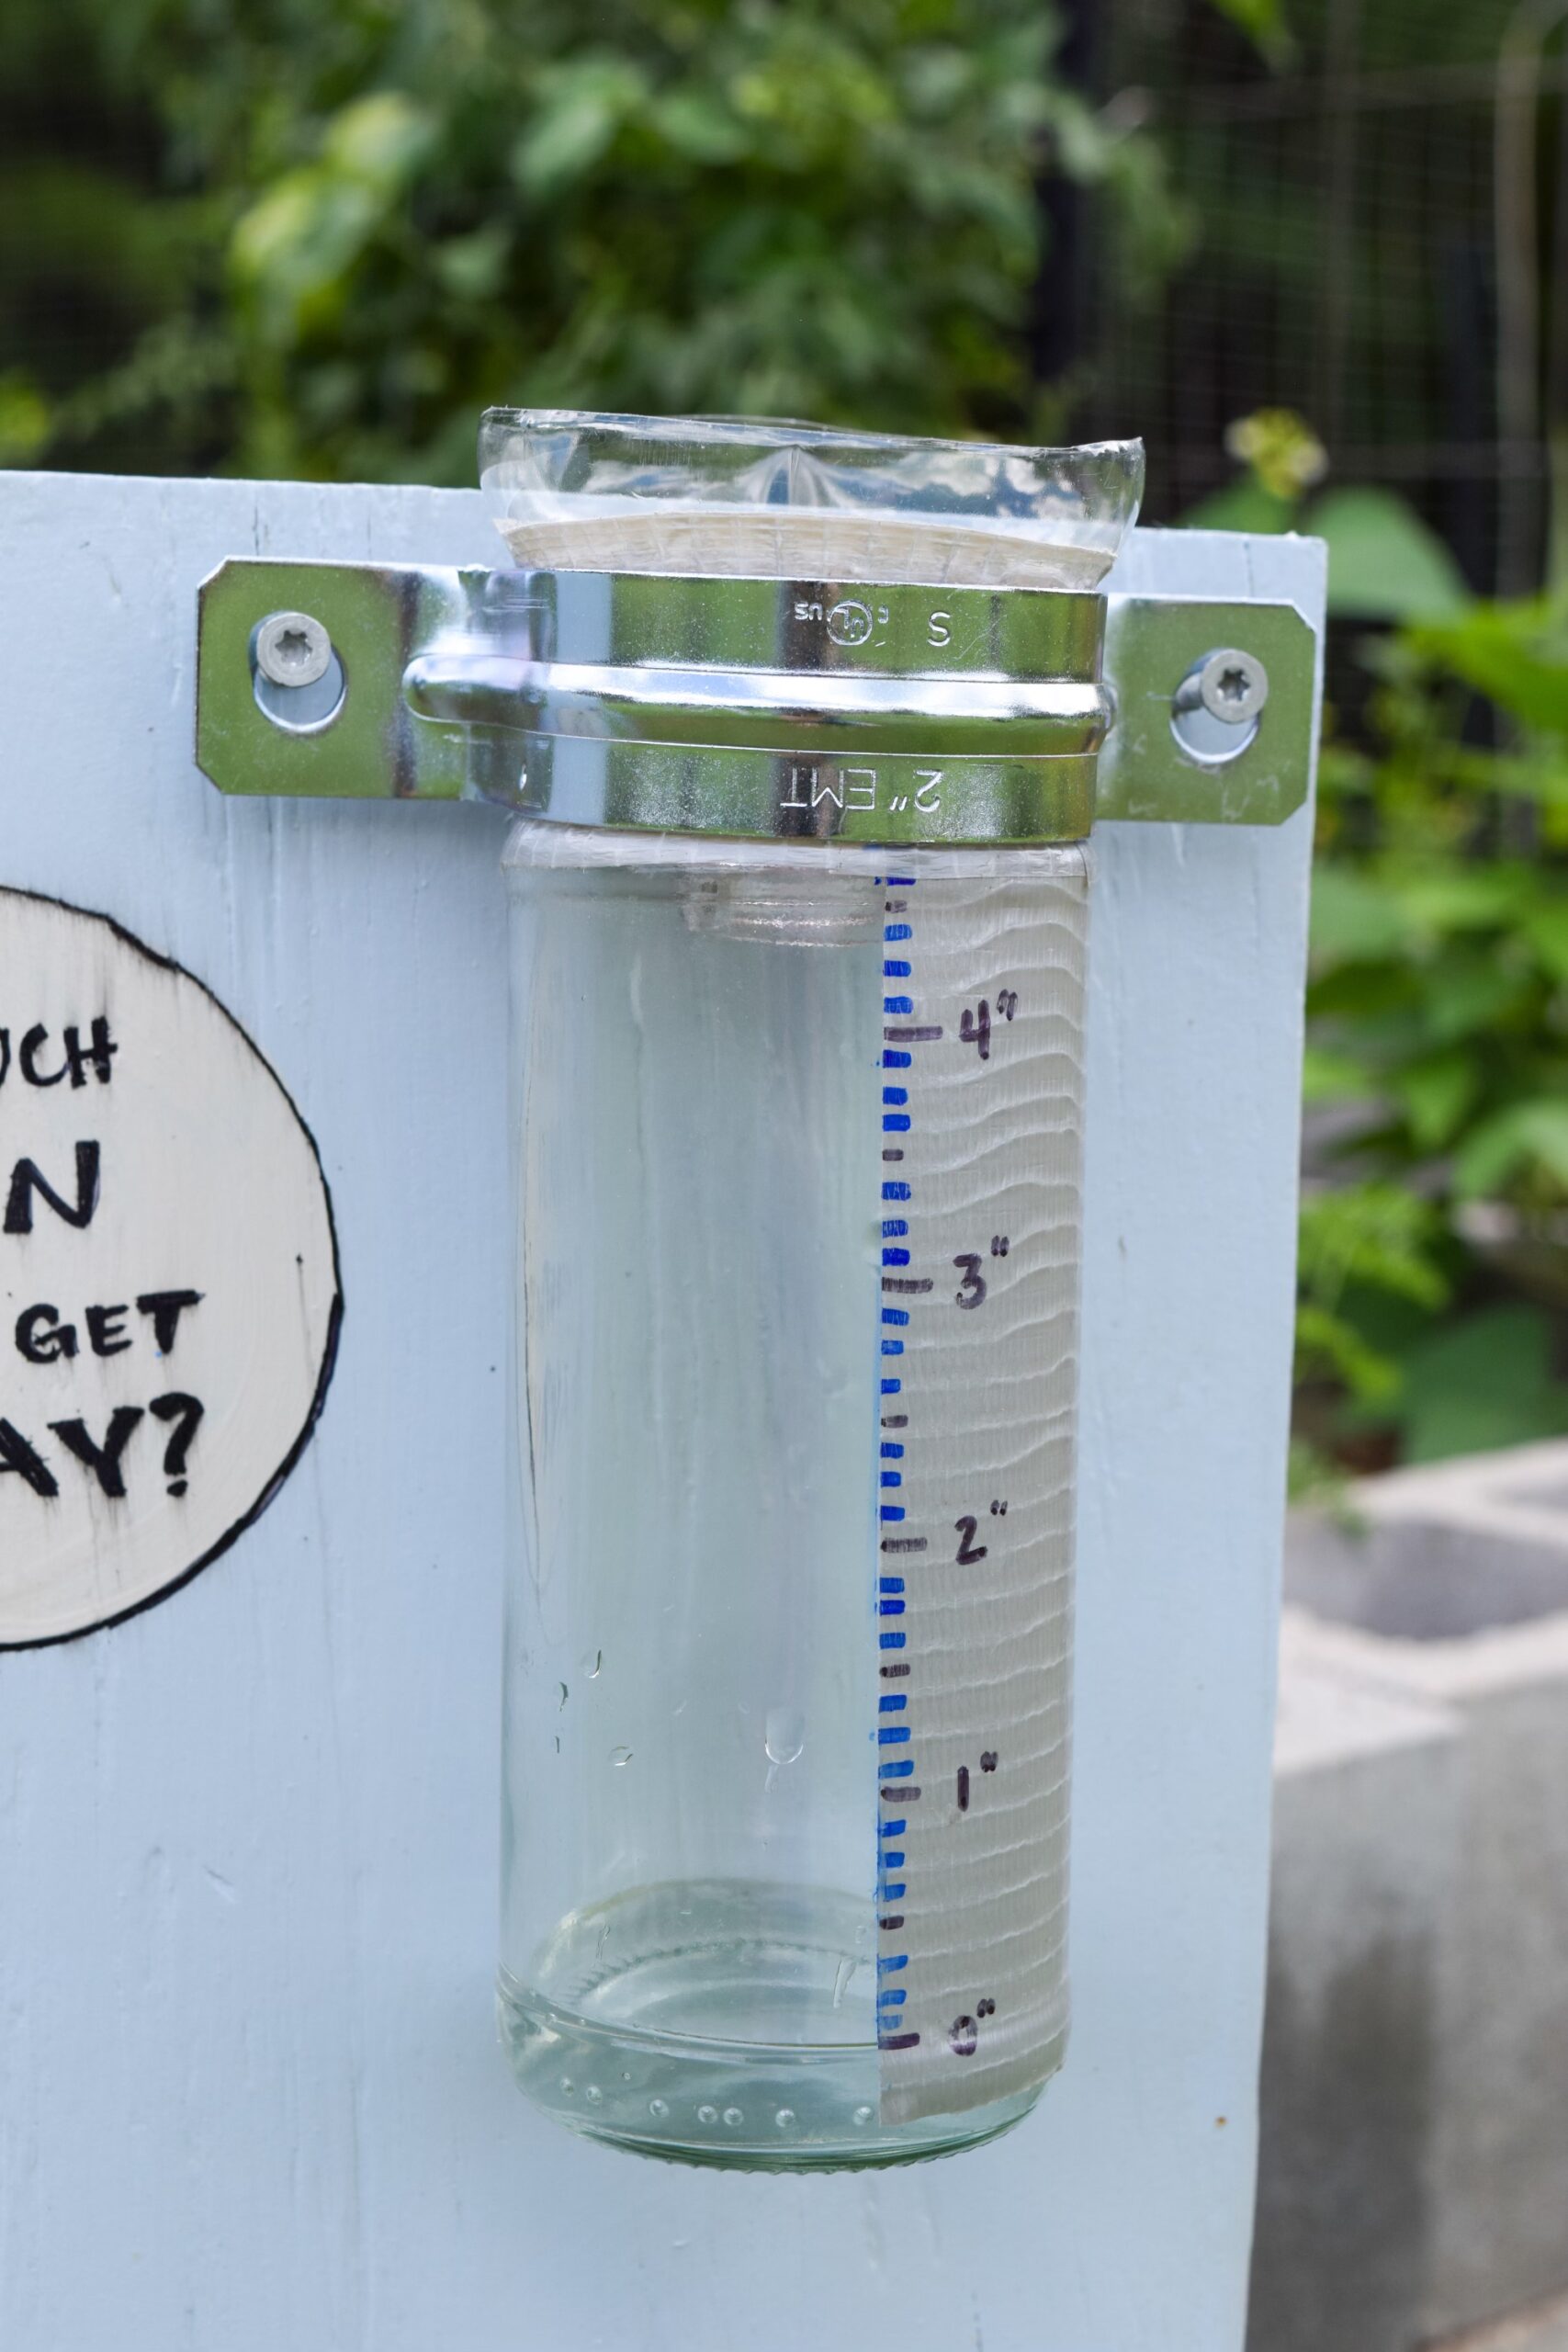
- Grab a clear, dry glass jar. The size does not matter, but it is best if the jar is the same diameter all the way up. Alternatively, a 2L bottle or a plastic water bottle may be used for this experiment.
- If using a plastic bottle: (adult help needed) using a utility knife and scissors, cut the bottle near the top, just before it starts to taper.
- Cut and apply a piece of duct tape that runs the length of the straight side of your vessel.
- Using a ruler and a sharpie, make a copy of the ruler, marking every cm and inch along the tape.
- If your vessel has a bulge at the bottom, start your “0” mark where the container is straight. You can fill the bottom of this part with rocks to weigh the container down.
- Add the funnel to the top of your container. You may want to tape it down as well.
User Instructions:
Set jars outside before a rain. Make sure students fill the bottom of the jar with water to the “0” line to ensure an accurate reading! Decide on a set amount of time to measure rainfall (a day, a week, or just during a particular rain shower). At the end of that time, have students observe their jar to see how much it has rained! Students can write their observations in the weather chart located in the PDF version of this lesson. Dump out the extra water and you will be ready for the next rainstorm!
Explain:
Ask questions to help kids reflect on their exploration.
- Why do we add the funnel to the top of the container (Keep out leaves, catch more water for a given area.) What do you think would happen if we did not use the funnel?
- If you were to do this experiment again, what would you do differently?
Extend:
- Try the experiment again but compare how much water is captured using a funnel vs. not using a funnel.
- Check rainfall over a set interval during a storm to create a more accurate graph!
- Ask students to describe other weather/climate aspects they could measure in their garden. Some examples include cloud cover, wind speed and direction, lunar cycles, temperature, and snowfall.
- Consider creating a weather station in the garden to track these things!


0 Comments